This is an action you can download from Atomic Cupcake. Although there are plenty of reasons to pay the fee and get the actions from them, this is not one of them.
1. Create a new document
2. Create a background or place paper on the document. Then you will need to select another paper or background to place in a second layer over the first. For my example, I have chosen the red and blue papers from Hummie’s patriotic kit.
3. Resize your papers to fit your document size. I scrap 8.5x11 and most papers are 12x12 (or 8x8 occasionally) so I have to resize nearly everything.
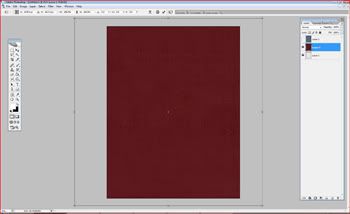
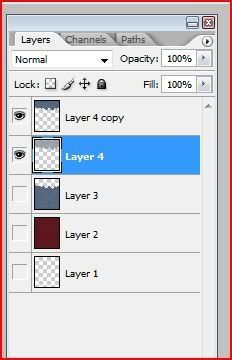
4. Once your papers are resized, determine which paper you want to tear. Move this layer to the top of your layers palette. In my example, I’m tearing the blue paper so I have made it the uppermost layer.

5. Select the free hand lasso tool in the tool box.

6. Decide how big you want your torn piece to be. I prefer bigger over smaller so I am selecting a large area.
7. Make sure the layer you want to tear is selected, then click the left hand corner of the document and drag your mouse across the page. There is no need to worry about keeping a straight line since you want it to be jagged. Once you reach the right side of the document, drag the pointer up, over and back down to the starting point. It is ok to go outside the edges of your document for this to ensure that you get all of the paper you want to tear.
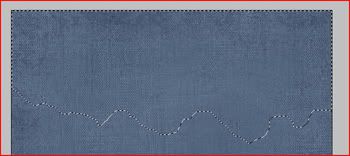
8. Once you have a shape selected (indicated by the marching ants line), click Layer>New>layer via cut or type shift+control+j. This places your selection on a new layer.
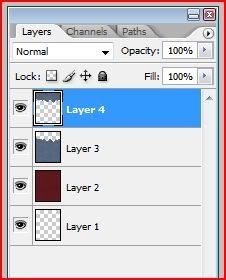
9. Now you need to do something with the rest of the background layer. You can either hide it by clicking the eye icon next to it or you can delete it by right clicking and selecting delete layer. I chose to hide mine for this example.
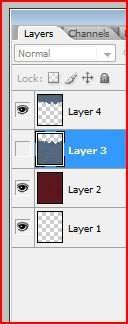
10. Click on your torn layer to highlight it. Then right click and select duplicate layer.
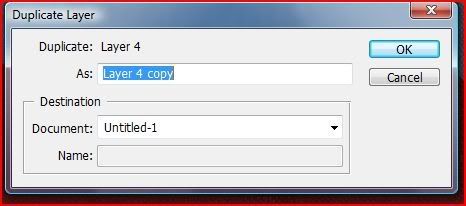
11. Click your bottom torn layer to make it active. Select your move tool or type V


12. Use the arrows on the keyboard to nudge the layer down a little bit. Try 5 or 6 pixels to start.
13. With the bottom torn layer still active, select Image>Adjustments>Hue/saturation or type ctrl+u and increase the lightness by 50.
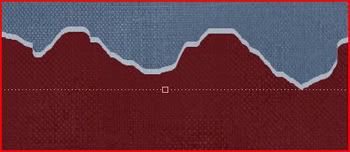
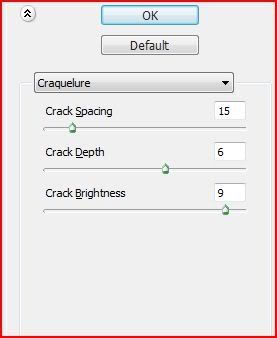
14. Next select Filter>Texture>Craquelure. Play with the setting until you get the right amount of texture.
15. Select your eraser tool. At this point I like to zoom in to about 50% so I can actually see what I’m doing.

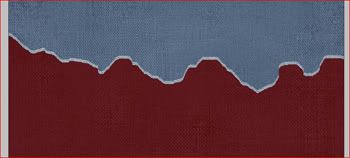
16. Drag the eraser along the bottom of the lighten layer to make the cut more irregular.

17. Hide all layers except your two torn layers then select Layer>Merge Visible or type Shift+Ctrl+E. This will merge the two torn layers so that they can be moved together.
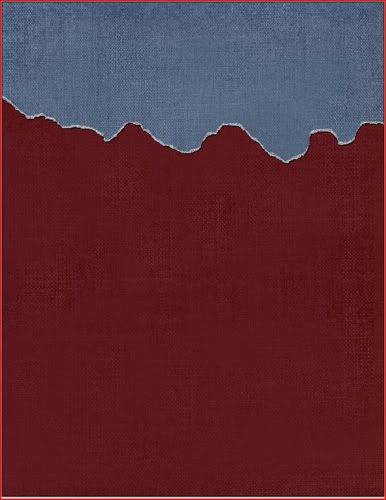
18. Don’t forget to add a drop shadow and you are done.

1 comment:
Great work on the tutorial! I prefer using the AC actions, but I do it a little different by manual, so it's always great to see how everyone else does things...so many ways to accomplish one thing!
Post a Comment